Two weeks after our earlier straw bale barn raising construction workshop in Ellensburg, we returned again to learn about finishing and plastering techniques by helping the owners put up an entire first layer on the walls.
First a mesh wire lath was attached to the straw bale walls by means of tightened string sewn into the bales, with the addition of large bent wire “staples” inserted here and there to keep the metal lath tightly up against the bales. A finer and sturdier expanded metal lath matrix was used in areas requiring additional structural rigidity, especially around window openings and on the underside of the top of window cut-outs in the walls.
The plaster concoction was mixed in a concrete mixer and wheelbarrowed over to the entire group who used trowels and wooden boards to hold gobs of the heavy wet plaster mix. We generally started from the bottom metal edge tray that was nailed along the wood framing on the foundation at the bottom bale, and we worked our way up from there. Different people used different techniques: some pushing in and twirling, some scooping and spreading up, and some even throwing plaster onto the wall with a quick follow-up of the trowel. Corners and the undersides of window cut-outs were the most difficult areas to apply, and the lowest levels along the bottom of the walls were hardest areas from an ergonomics standpoint.
By the end of the second day, we had the entire building completely encased in its first layer of plaster, both inside and outside, so it was a successful and productive weekend.
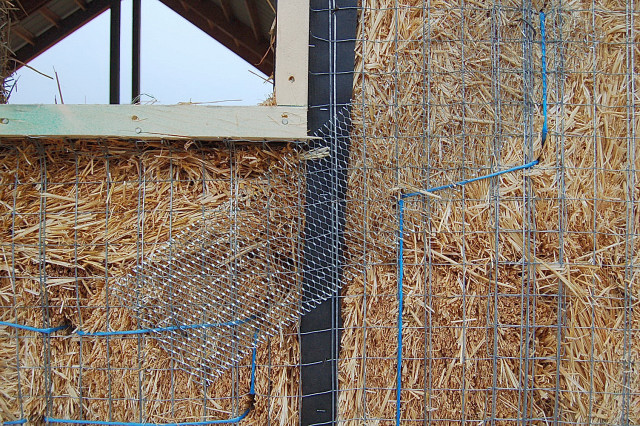
Metal lath grid that has already been sewn into place with a circuit of blue strings. The strings were sewn about a foot apart from one side of the bale to the other and then run up to the next row of bales. The diagonal finer/sturdier expanded metal lathe shown is there for additional plaster support around the window frame.
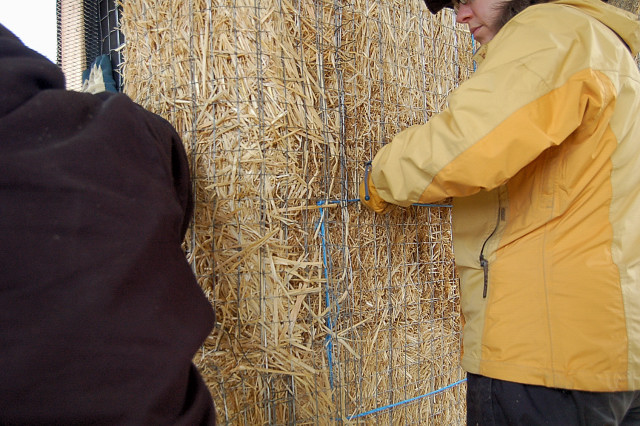
Using metal wire to further tighten the metal lath after it has been sewn into place.
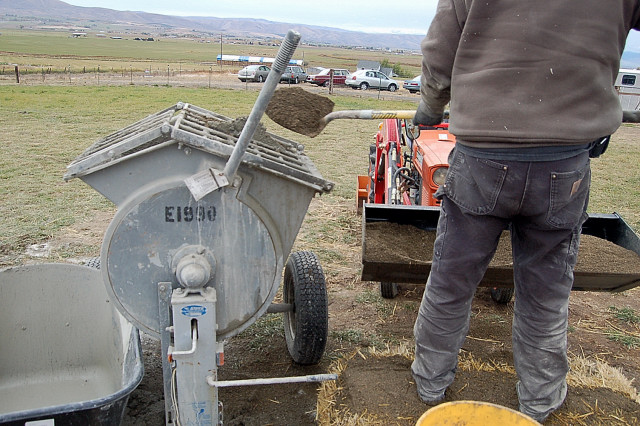
Plaster ingredients getting mixed with a concrete mixer.
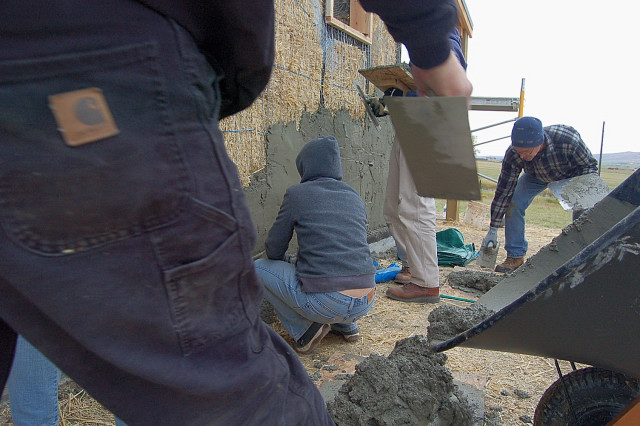
Plaster being dumped from the wheelbarrow into a pile for all of the group workers to shovel onto their boards. The work generally started at the lowest level metal edge interface with the foundation and went upward from there, though in some interior spaces people “buttered” in plaster from the top and moved downward.

We plastered the lower half of each wall from the ground, and did the upper half on scaffolding. We also sometimes used stacked straw bales as a platform for higher sections.
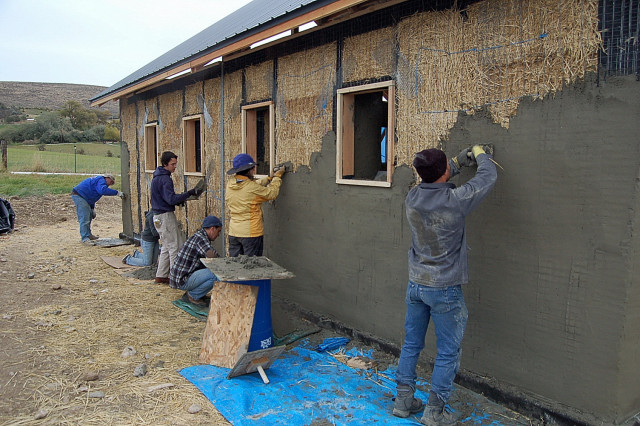
Group plastering north wall, spreading out for elbow room.
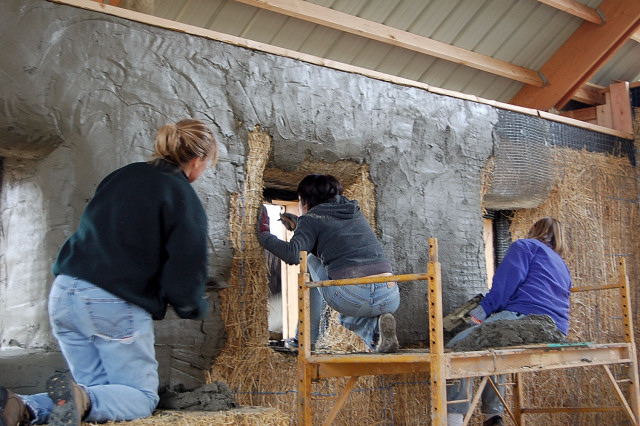
The window frame holes in the walls were more difficult because of the curvature of the wall, especially when pressing in the plaster to the underside of the upper window hole. This required use of a smaller trowel to apply more pressure and to force the plaster into the finer expanded metal lath that was specifically installed in that area.
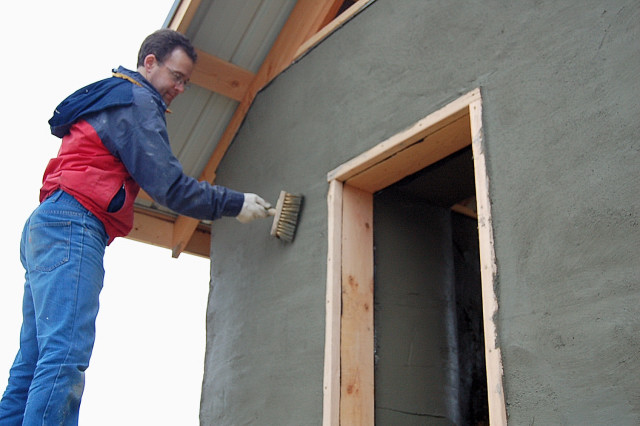
After the first layer was completed, a soft brush was used to smooth out surface irregularities and create a light wave pattern to help the next plaster layer adhere.
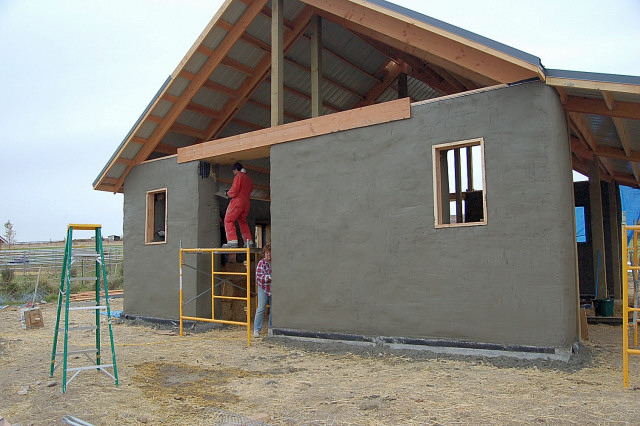
Wall nearing completion of its first layer!